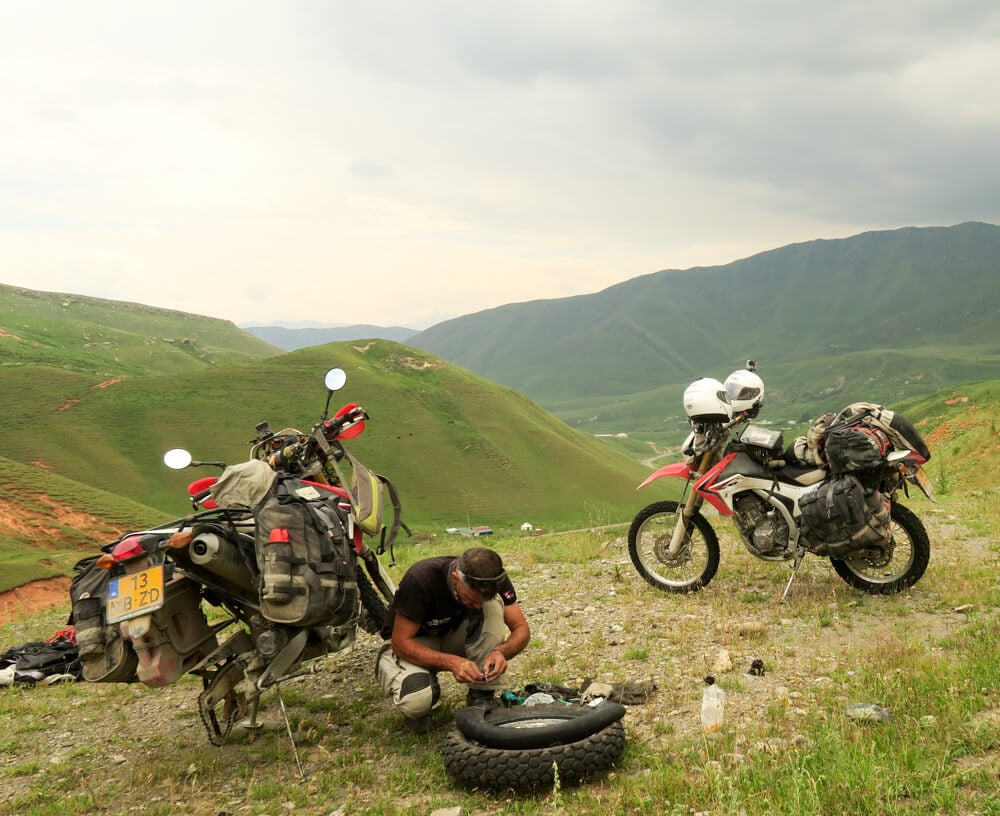
Be prepared for a flat tire!
Never leave on a motorcycle trip without tools to repair a flat tire! Even if when you are all thumbs make sure you have appropriate tools and spares with you so that someone else can help you. Even better, learn it yourself!
As a tire repair kit, take at least:
- A Patch Kit with, solution and sandpaper, or when tubeless a Tubeless Repair Kit
- At least two tire levers, easier is three.
- Tools to disassemble the wheels
- Tubes (when you really want to keep it as light as possible you can consider taking only a front tube with you, this can also be mounted temporarily at the rear.)
- Mini compressor and/or hand pump
- Valve core remover or the handy Moose 3-way Valve tool
- Optionally a small canister with talcum powder
You can supplement the above with:
- A Bead Breaker (in the case of tubeless tires and/or safety rims)
- A Bead Buddy (this will keep the bead pressed down in the middle of the rim)
- A Trail Stand (This is an extendable support that you can put under your bike if it is not equipped with a center stand.)
Purchase the above items well before you leave and practice in your garage or garden. Good tire repair tools are available in our webshop.
You have a flat tire, now what?!
- Stop immediately! The longer you ride on, the greater the chance of more damage, a simple nail can perforate your tube several times, there is also a big chance that your valve will rip off if you ride on with a flat tire. * 1 (see below)
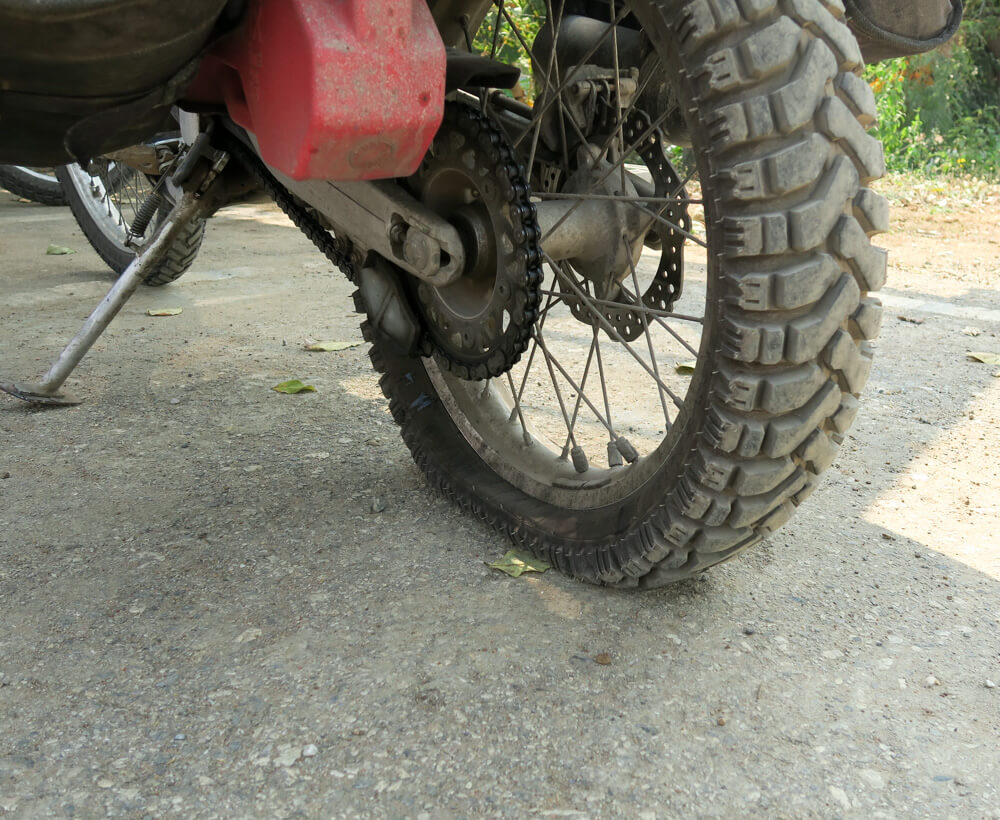
- Find a safe spot along the side of the road and place the motorcycle on the centerstand or find a big rock or tree stump with which you can support the bike so that the wheel is off the ground, I use a Trailstand for this.
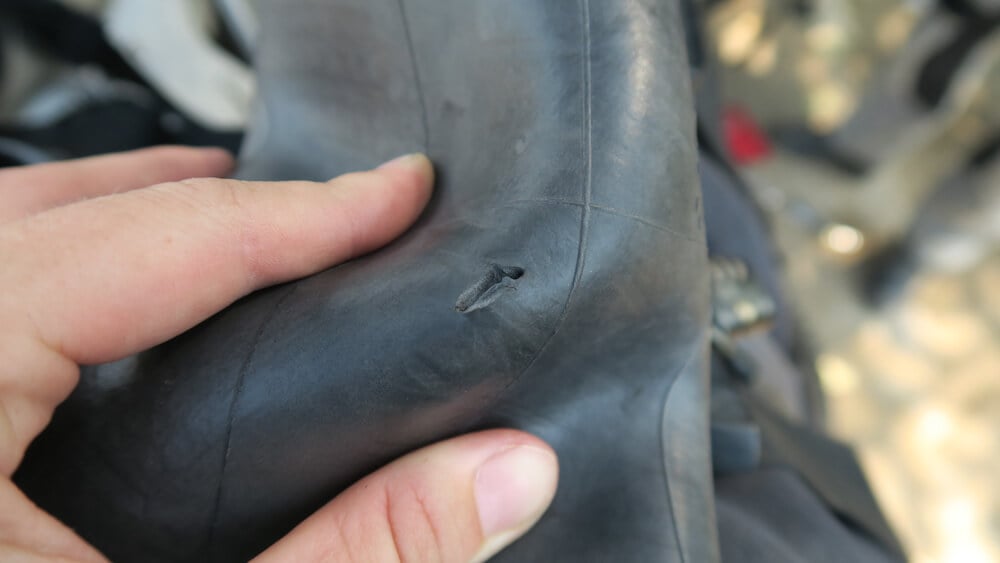
- Before you start wrenching, turn the wheel slowly and look and feel if you can find the puncture and/or the cause of the leak. Pull out the culprit and mark the place on the side of the tire.
- Remove the axle nut, if you do not have a sturdy centerstand it is smart to do this when the motorbike is still on two wheels.
- If rear wheel; take the tension of the chain by adjusting the chain tensioning system (differs per bike type)
- Pull the chain at the top of the sprocket and at the same time turn the wheel backwards, the chain will now automatically run off (the gear must be in neutral for this).
- Pull the axle out and remove the wheel, making sure that you do not lose the spacers and see how they are mounted.
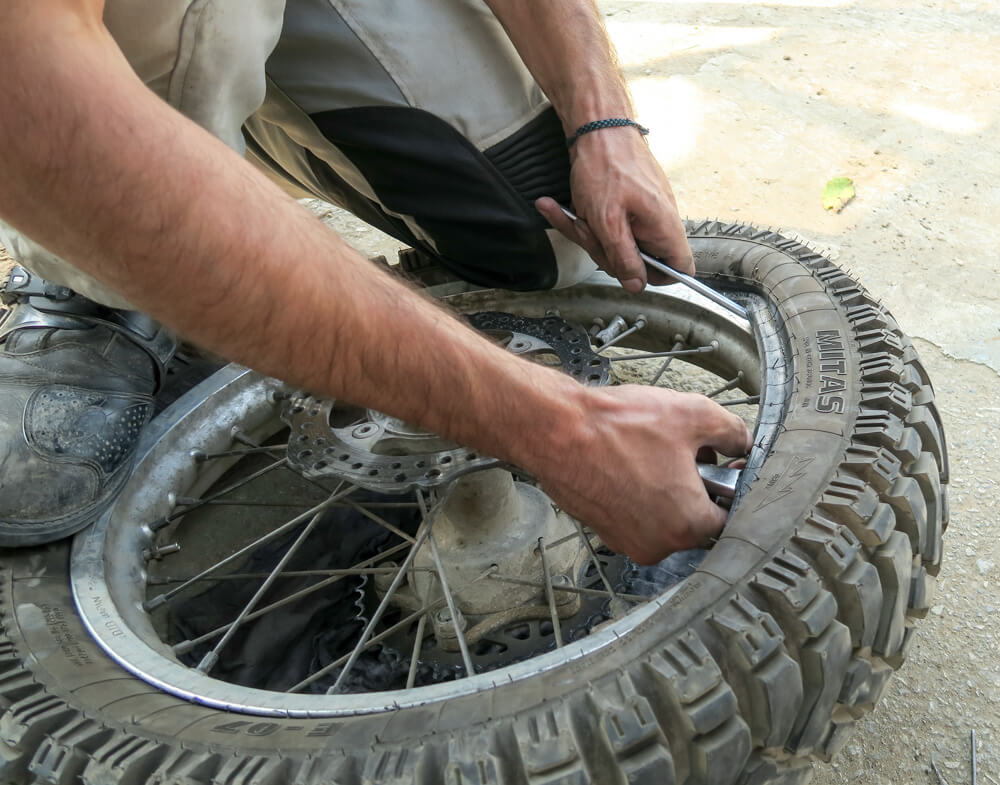
- Place the wheel flat on the ground with the brake disc facing up and remove the valve core.
- Now comes the most difficult: The tire side walls must be separated from the rim. The bead of the tire is stuck on the rim, this must first be pushed over a kind of upright edge to get it in the middle of the rim. The bead of the tire must be located in this "middle gutter", so that there is workspace to insert the tire levers and the tire can be removed from the rim. If you do not have a bead breaker with you there are several other ways: Stamp with the heel of your foot on the tire as close as possible to the rim. Try this all the way around until it comes loose. As soon as there is a beginning, the rest will be easier. If you do not succeed with your foot, you can use the side stand of a motorbike in case you are with multiple bikes: place the stand as close to the rim as possible and then push down with the full weight of the motorbike. Once there is a beginning, the rest can be done with your foot. In the worst case if nothing works at all, you can stop a car and ask if the driver wants to drive slowly over the tire. In this case, place the tire behind the rear wheel of the car so that the tire is only driven over and the rim is just not touched. Now ask the driver to drive slowly backwards.
- If the tire is separated from the rim on both sides, place the wheel with the sprocket down on the ground again. (In case of front wheel or shaft bikes, make sure that the brake disc is not damaged when it is lying on the ground, place it in the grass or put a cloth under it.
- Important! Sit with your knees or feet on the tire to get and hold the bead of the tire in the center gutter of the rim, this creates space on the opposite side to pull the tire over the rim. In order not to have to take on all sorts of strange postures, you can also use the handy Bead Buddy, which keeps the bead down for you.
- Place a tire lever between the tire and the rim opposite to the place where you hold the tire in the middle of the rim and pull it over the edge of the rim.
- When, like me, you use short tire levers, it helps to use two tire levers next to each other (about 5 cm) at first and to pull them over at once, you now have more power. As soon as the bead is over the heaviest stretch you can remove one of them, the other one you hold in place
- Now insert the next tire lever at about 10 cm from the first between rim and tire. For this it helps to take of some tension off the first lever, this makes it easier to insert the next lever. Pull the bead over the rim and keep tension on the tire iron.
- Insert tire lever #3 about 10 cm further, take off some tension of #2 so that it is easier to get it in. Pull the tire over the rim.
- The middle tire lever can now be used again for the next step.
- Work this way all the way around, it will be easier and easier so you can place the next levers at an ever increasing distance.
- Attention! If it is very difficult, then chance is you are doing it wrong. Brute force is not necessary, it is mainly technique: Make sure that opposite your workplace both edges of the tire are in the middle gutter of the rim (including the edge on the bottom!).
- When the tire is completely off on one side, press the valve through the valve hole and pull out the tube. If you have already marked the puncture on the tire, place the tube on the tire as mounted and examine the tube in the area of the marking. * 2 (see below)
- If you can not find the puncture immediately: inflate the tube and listen or feel if you can find the leak. If it is very difficult to find, see if there is the possibility to submerge the tube in water or apply soapy water on the entire tube.
- When the puncture is found, mark it with a cross over it or a circle around it with chalk or a pen. Let all air out again.
- Rough the spot where the patch wil come well with coarse sandpaper.
- Apply a layer of rubber solution at the place where the patch will come and let it dry until it no longer sticks when you gently touch it with your finger.
- Stick the patch over the puncture and press it firmly. If there is a plastic foil on it, work with your thumbs from the center outwards. This tears the foil and you can pull it out from the middle to the outside without the orange vulcanization layer coming loose.
- Feel with your hand inside the tire and make sure there is no dirt or objects stuck inside.
- Inflate the tube to check that the patches will hold and that there are no more leaks.
- Reinstall the valve core and inflate the tube a little. So much that when you let it hang over your finger, it just folds instead of maintaining its shape.
- Lubricate the tube with talcum powder, this makes it nice and smooth and makes it easier to assemble, also the tire lever will slide off better from it, reducing the risk of pinching the tube during assembly.
- Re-install the tube. Start by pushing the valve from the inside through the valve hole, assemble the lock nut and then push the rest of the tube back in place (a valve puller makes this job a lot easier and saves you scratches on your knuckles ...).
- When the whole tube is neatly inside, check whether the valve stem is straight, if this is not the case you can get it straight by turning the wheel slightly in relation to the tire.
- It helps if have soapy water (shower gel, dishwashing liquid, etc.) or else just water at hand to lubricate the rim and to make the edge of the tire slightly slippery.
- Put the wheel back in front of you with the sprocket down and the valve away from you.
- Start with a tire iron on both sides of the valve and work in one direction.
- Carefully insert the tire lever(s) between the rim and tire, just far enough to hold on to the rim, but not so far that the tube can get between, as this will certainly result in a pinched tube. Pull the tire back into the rim and place the next lever a lot further and repeat this action. Make the steps smaller and smaller with the last steps of about 10 cm. Always lubricate the next piece of rim and tire with the soapy water. Especially for the last part it is important to keep the tire in the center gutter of the rim on the opposite side. Just like with the disassembly, it helps to take off some tension from the lever in order to make it easier to insert the next tire iron.
- When the tire is fully assembled again, it can be inflated. It can sometimes be necessary to first inflate the tire to 4 or 5 bar pressure to get the bead seated. You hear a pop when it is back in place.
- If you ride tubeless, you can simply repair the tire from the outside using a Tubeless Repair Kit. If the puncture is too big for a plug/string or if there is a dent in the rim so there is not enough sealing between tire and rim, you can place a tube as described above.
- Usually I choose to directly place the spare tube and to take the flat tube with me. This way you can then fix it yourself later or have it repaired professionally at a tire repair workshop. Especially in the countries outside Europe, a tire repair shop can be found on almost every street where they repair the tire professionally for a small amount using heat and vulcanizing rubber.

As said before: A flat tire usually comes at bad timing, first practice at your leisure in your garage, living room or garden. That saves a lot of frustration later on the side of the road.
Good luck!
Peter


